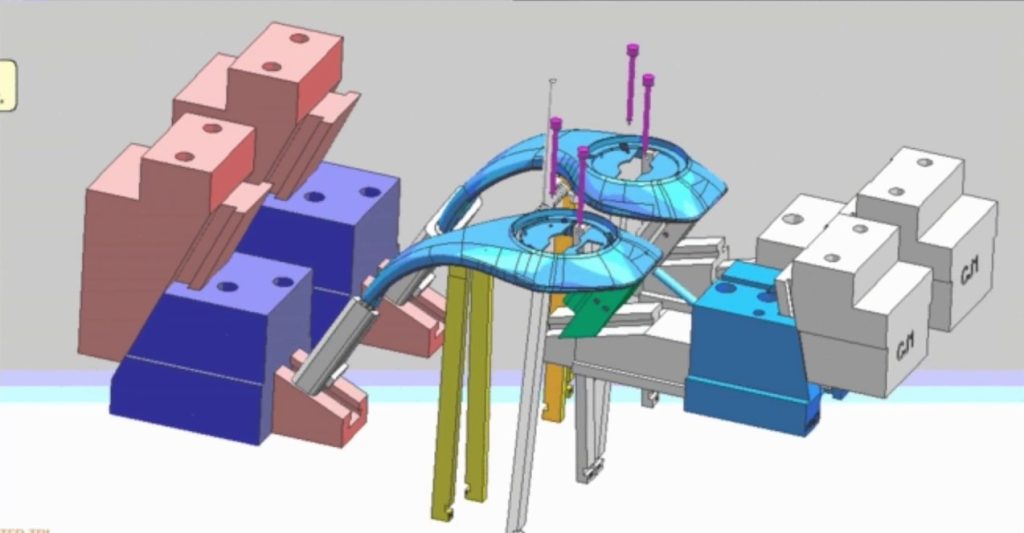
Injection molding is one of the most popular manufacturing processes for mass producing plastic parts. With injection molding, you can create complex geometries and high production volumes at a low cost per unit.
However, to leverage the benefits of injection molding, you need to design your parts specifically for this process. There are several design considerations and best practices you should keep in mind. In this guide, as a professional plastic injection molding manufacturer, I’ll share my top tips for how to design for injection molding.

How to Design for Injection Molding
Choose the Right Material
When designing a part for injection molding, one of the first things to decide is the material. There are thousands of plastic materials to choose from, but the most common options are:
- Polypropylene (PP)
- Acrylonitrile Butadiene Styrene (ABS)
- Polyethylene (PE)
- Polycarbonate (PC)
- Nylon
Consider the mechanical, thermal, and chemical properties you need. Also, find a material that’s easy to injection mold and economical. As a rule of thumb, opt for amorphous plastics like ABS over semi-crystalline plastics.
Maintain Consistent Wall Thickness
Uneven wall thickness is one of the main causes of defects in injection molded parts. It can lead to:
- Sink marks
- Warpage
- Poor material flow
That’s why you should aim for uniform wall thickness wherever possible. The ideal thickness is 1.5-2.5 mm for most materials.
For sections with varying thickness, use gradual transitions like chamfers or fillets. The change in thickness should not exceed 15% of the nominal thickness.
Add Draft Angles
Draft angles are vital for the ejection of the cooled and solidified part from the injection mold. Without draft angles, the part would get stuck inside the mold.
The minimum draft angle is usually 1-2°. For walls taller than 25 mm, add 1° extra for every 25 mm in height.
Also, increase the draft angle if your part has a textured surface finish. A good rule of thumb is to add 1-2° extra over the minimum.
Include Generous Radii and Fillets
Sharp corners act as stress concentration points and should be avoided. For the internal radii, use at least 50% of the wall thickness. For external radii, use 1.5 times the wall thickness.
Adding radii and fillets improves strength, appearance, and mold flow. Rounded corners are also less likely to get caught while ejecting from the mold.
Design Self-Supporting Bosses and Ribs
For injection molded parts to handle loads and forces, you need to incorporate strengthening features like ribs and bosses.
Bosses serve as attachment points for screws and fasteners. The outer diameter of a boss should be roughly 2.5 times the screw diameter.
Ribs enhance the load-bearing capacity of a part. Make the rib thickness 50-60% of the wall thickness to prevent shrinkage defects.
Don’t make ribs or bosses free-standing. Connect them to walls or gussets to improve strength.
Strategically Place Gates and Ejector Pins
Gates allow the molten plastic to enter the mold cavity, while ejector pins push out the cooled part after molding.
Put gates on visually unimportant surfaces to minimize gate marks. Place ejector pins on non-visible areas so that they don’t damage or mark prominent surfaces.
Prototype and Test Before Production
It’s highly recommended to create a prototype of your design first. Test the prototype thoroughly and make any necessary tweaks in the design.
This will reveal most potential issues early on while changes are still inexpensive. Once your design is finalized, you can move to full-scale injection molding production confidently.
In Summary
By following these key tips for how to design parts for injection molding, you can avoid defects, improve moldability, and streamline the overall process. Remember to focus on uniform walls, draft angles, generous radii, and strategic placement of strengthening features and gates.
With an injection molding-friendly design and the right material choice, you can mass manufacture high quality plastic parts successfully.